This post is for my sweet friend Stephanie who asked me to give her tips to making homemade bread. Making homemade bread of any kind can sound sooo intimidating, but I'm here to prove it's a piece of cake! Ha! I will do my best to share what I've learned from trial and error over the years!
So I've found the# 1 trick to making any type of bread is getting the yeast just right. If the yeast fails, the bread fails! The water temp has to be just right or either the water will kill the yeast, or it will inhibit yeast growth. So here's my trick to perfect water temp (and I have no idea what the actually temp is because I don't have a candy thermometer), but I stick half the water measurement in microwave for 2 minutes, then I go to my fridge and get cold fridge water for the other half! Then I add the yeast to the perfect water temp! Voila! My secret! :)
So here's the easy recipe and there's a story behind it that I will share at the end if you're interested in story of how I learned to make bread.
Homemade Wheat Bread ( makes 4 loaves) You can choose to use all wheat flour, but most of the time I do half wheat/half white because we grind our own wheat flour- I will share details on that later)You also may want to start with half of this recipe to get the feel of it and also be sure your mixer has 12 cup capacity before doing the 4 loaf recipe.
2 cups boiling water
2 cups cold water
1 cup brown sugar
3 Tbsp yeast
1 1/2 cups dry milk
3 tsp salt
3/4 cup canola oil
5- 6 cups wheat flour
5-6 cups white flour
Microwave 2 cups water for 2 minutes. Pour brown sugar into a bowl ( I use a small
metal bowl because it seems to hold in the heat) Add hot water to sugar and stir to dissolve. Add 2 cups cold fridge water.
Add 3 Tbsp yeast and stir. Let sit.
While the yeast is "proofing" Add 5 1/2 cups white flour to your mixer. (I absolutely love my Bosch Mixer, but I learned how to make bread with a Kitchen Aid years ago. )
My beautiful assistant Lucy is a great helper in the kitchen! :)
Add 1 1/2 cups dry milk
Add 3 tsp salt and mix. ( I will warn you there tends to be dry milk flying around because of the consistency so you can either put a lid on top of your mixer, or just wear an apron like Lucy and I!)
The yeast should look like this or even have more bubbles in it depending on how long you take to get all your dry ingredients together.
Pour the yeast mixture into the dry ingredients mixture and start mixing on low speed
Add 3/4 cup oil
Add the 5 1/2 cups wheat flour (use King Arthur Brand if you're buying from the store)
Mix on low speed for about 7- 10 minutes. Depending on how sticky your dough is add another cup of either white or wheat flour scraping down sides as you go.
Cover with kitchen towel and let rise for about 3o minutes
Flour counter top and spray bread pans with cooking spray. Make a mound with dough
cut dough into 4 even pieces
shape a mound into a loaf and roll out air and bubbles with rolling pin. (This is where my boys love to help and this part is Timmy's forte!)
Roll dough up
Tuck edges and place seam down in bread pans
Cover again with kitchen towel and let rise another 30 minutes
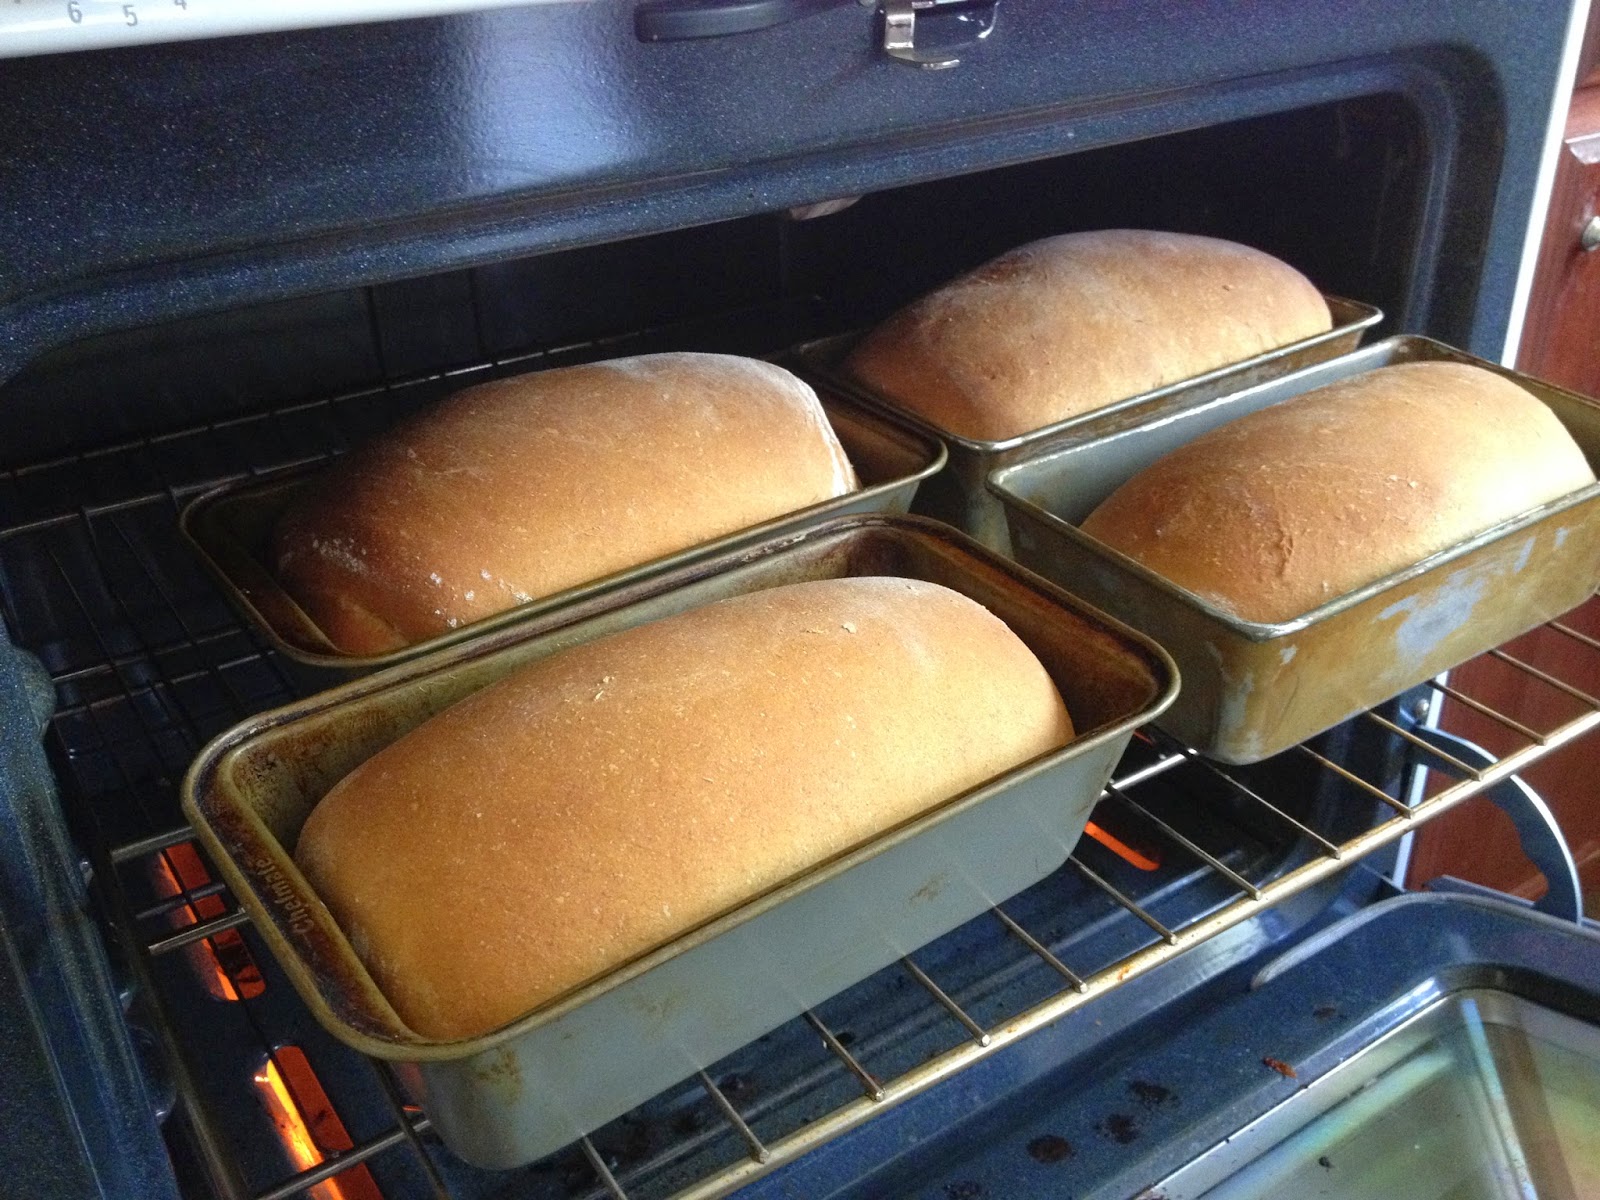
Preheat oven to 350. I like to keep bread on top of oven to rise...
Bake for 30 minutes.
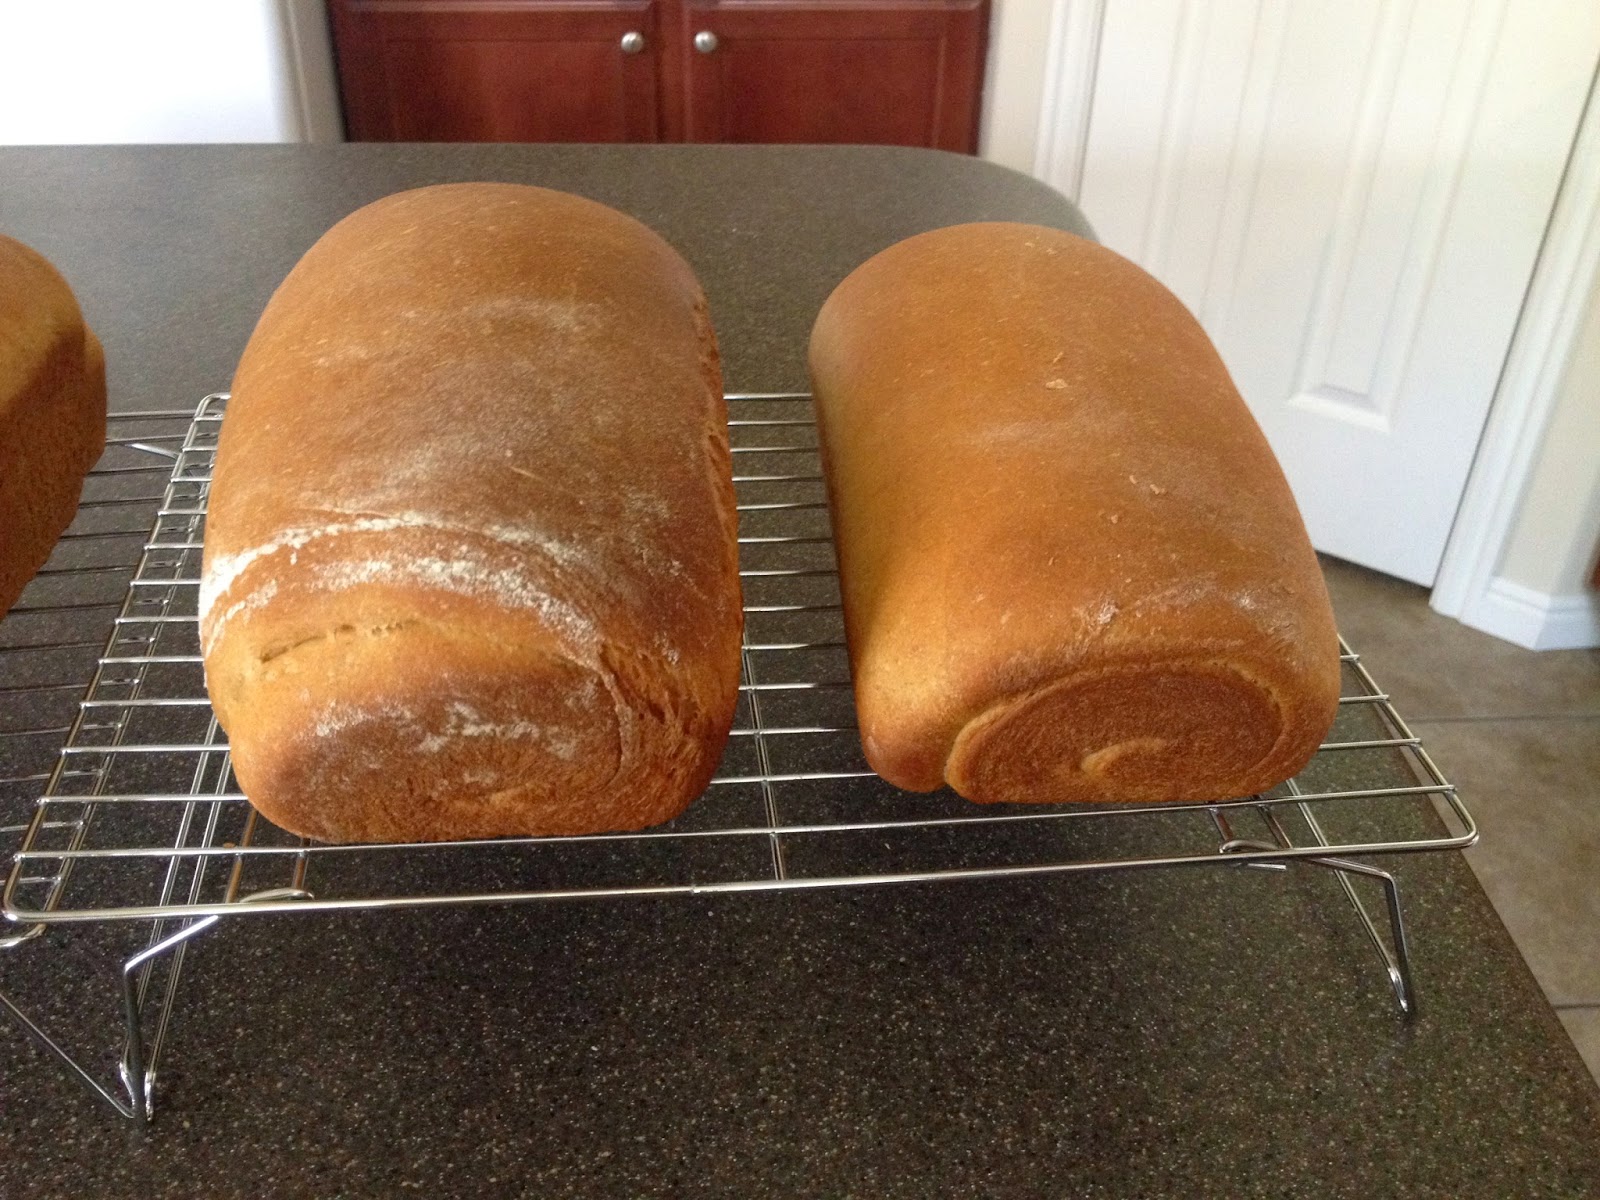
Pop bread out immediately onto cooling racks. They literally should come right out when you shake the pan
So my kids will eat a loaf when it comes out of the oven so we're down to 3! I like to always give a loaf away when it's warm because it makes me happy!
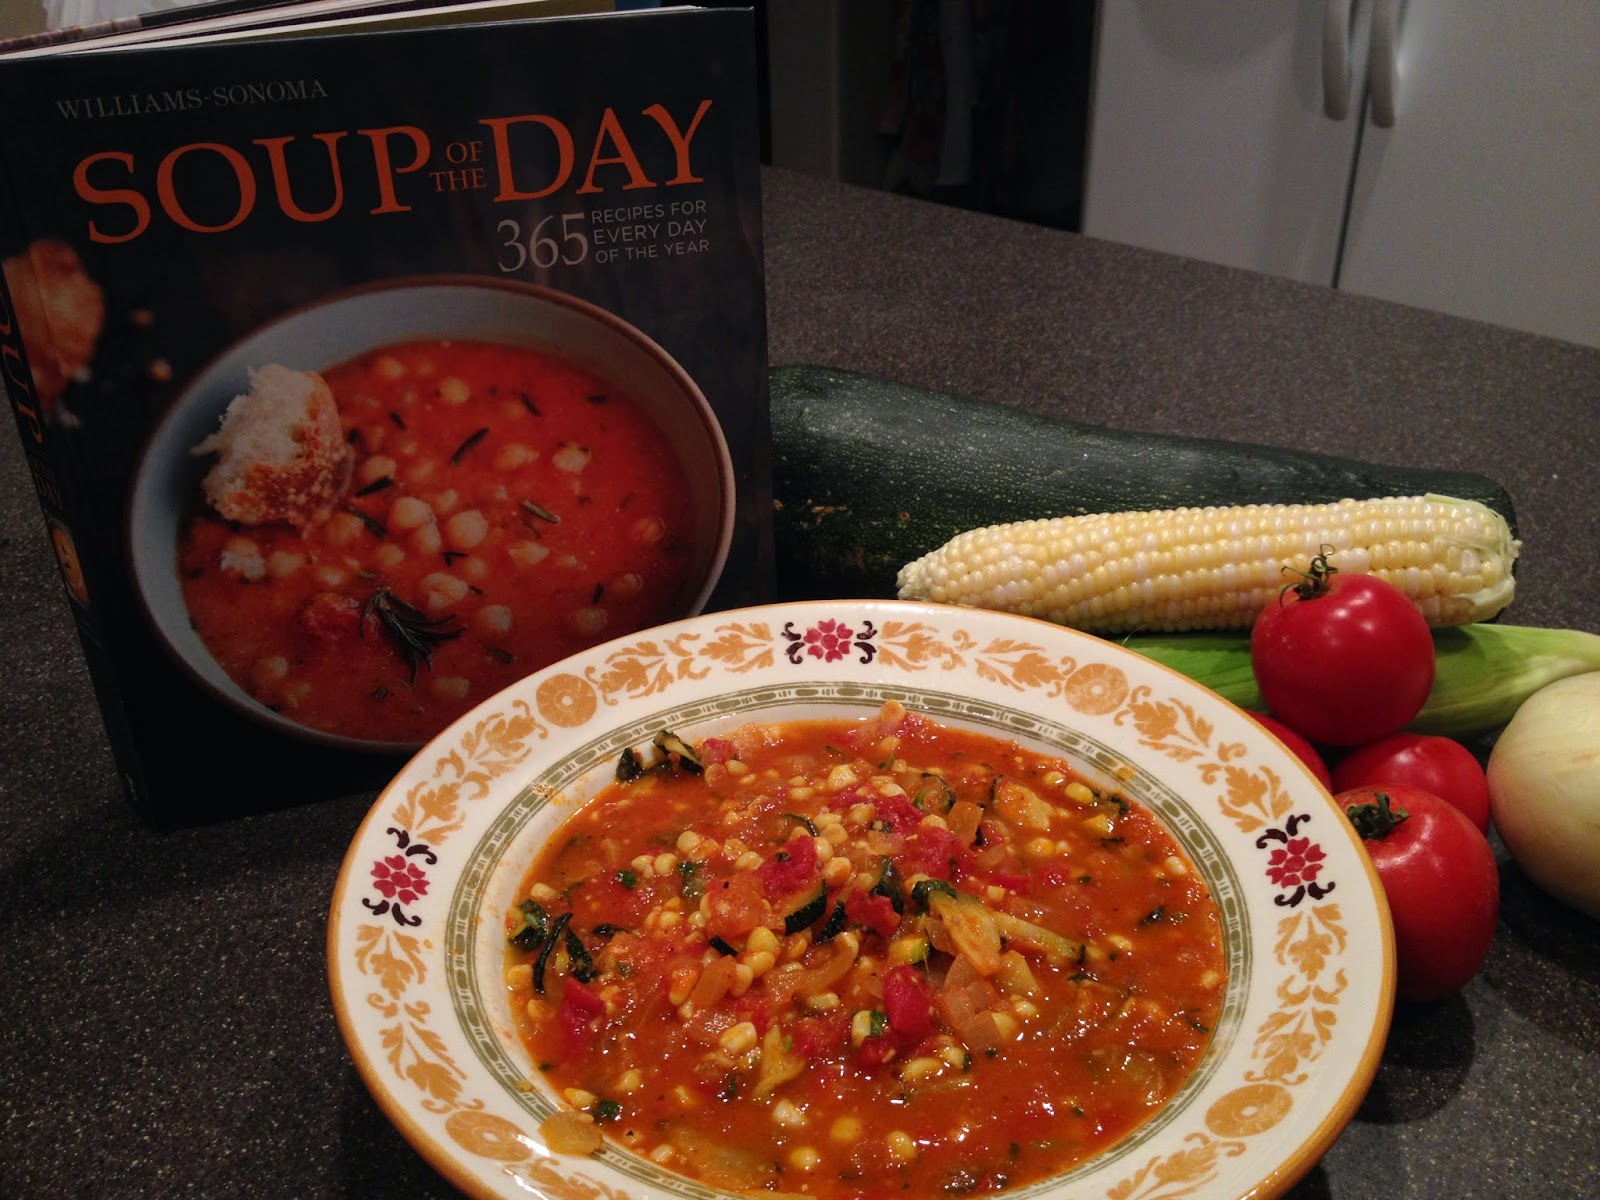
My sweet friend Becky and her Mom Avie gave me this years ago and I have cherished it ever since!
Toughest decision of the day is deciding which jam to put on the bread! Gramma's homemade raspberry jam, or Auntie Beth's homemade blackberry jelly!
I hope you enjoy this bread as much as we have! My kids have loved coming home from school and smelling the amazing aroma of homemade bread wafting through the house. There is a comfort in that for them and once you've made your own bread you will never go back to buying store bought bread!
Now a quick story of how we came upon making homemade bread. So my hubby was out of work for a time about 9 years ago and we had to figure out where to cut costs with 6 kids at home. In our church (The Church of Jesus Christ of Latter-Day Saints) we're encouraged to have an extra supply of food for a rainy day or for a disaster, so over the years we had been slowly adding to our food storage supply.
We mostly have cans of dry wheat, rice, flour, beans, etc.. Staples. So my hubby and I decided we should start using some of this food we had been purchasing, but as we looked at the wheat, we realized we had no clue how to incorporate wheat into our diet, especially whole grains of wheat. My hubby starting researching wheat grinders online and bought this Nutrimill grinder.
We started grinding our own wheat flour. It does such a beautiful job of making a great wheat flour! It tastes absolutely delicious and is so full of nutrients!
Craig also bought me a Kitchen Aid and there was a recipe book attached. He decided he would start fiddling around and try out some bread recipes. He changed a few things here and there and voila! It became Craig's bread! It became such a popular item with my friends and neighbors
that he was even asked to teach how to make it at a church women's meeting! He kindly declined, but it's been the running joke ever since!
So, there you have it! Great blessings can come from our trials in life! We're so grateful we were forced to use our wheat and now we wouldn't have it any other way!
By the way, I freeze my extra wheat and it still works great even a few months later!


 T
T